
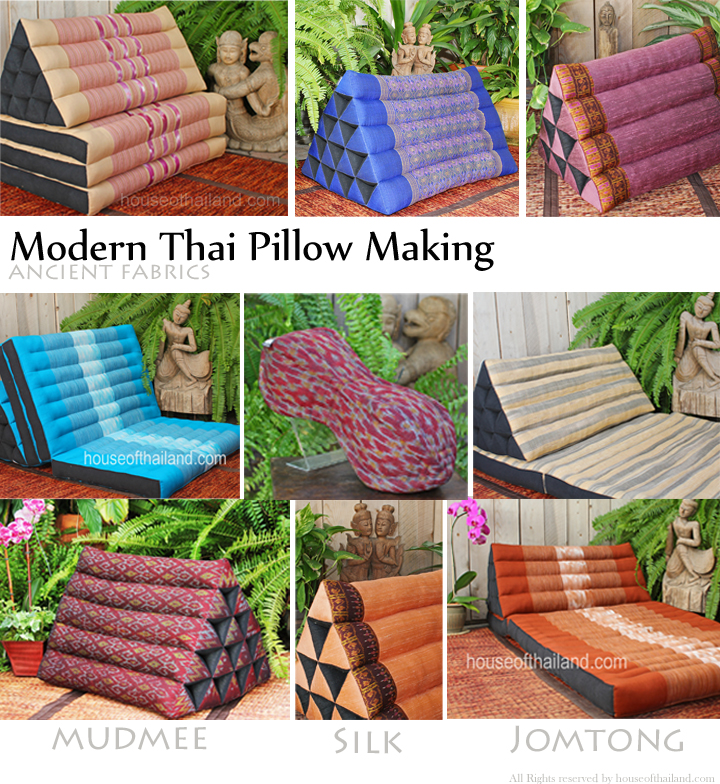
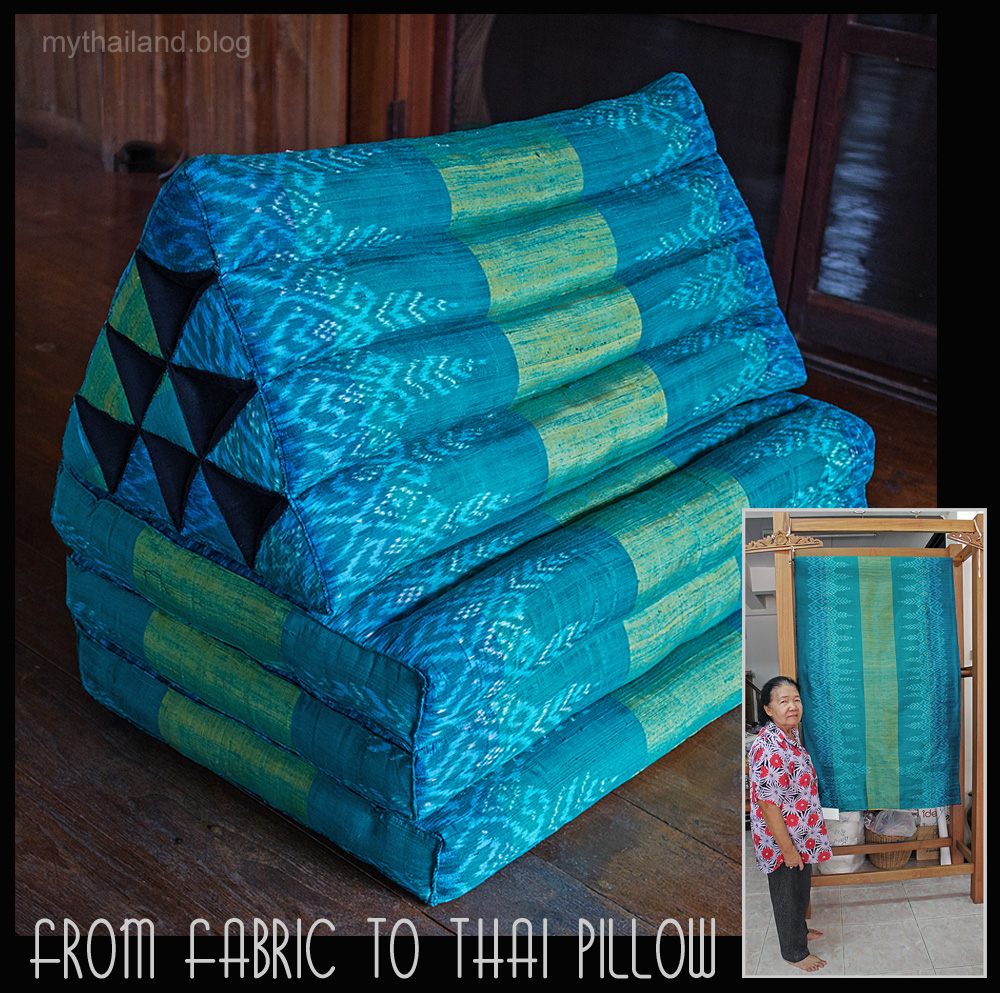
Today, I wanted to try something new, so I decided to make a Thai pillow. I’ve seen these beautiful, triangular pillows and always wondered how they’re made. I figured, why not give it a shot?
Getting Started
First, I needed to gather my supplies. I already had some fabric scraps from previous projects, so I picked out a few colorful pieces that I thought would look good together. I also grabbed:
- Some stuffing – I used regular pillow stuffing, but I guess you could use rice or buckwheat hulls for a more traditional feel.
- My trusty sewing machine – although you could totally hand-sew this if you prefer.
- Scissors, pins, a ruler, and some thread that matched my fabric.
Cutting the Fabric
This was probably the trickiest part, figuring out the shapes. I looked at some pictures online and kind of winged it. Basically, you need a bunch of triangles and rectangles. I cut out:
- Two large triangles for the main pillow part.
- Several smaller triangles for the side panels – these give the pillow its 3D shape.
- A long rectangle for the base that connects everything.
I didn’t measure anything super precisely, I am more of the eyeball it, type of guy. It all ended up fitting together, so I think I chose correct sizes. It’s fabric, so very forgiving!
Sewing it Together
I started by sewing the smaller triangles together to form the side panels. It took a little fiddling to get them lined up correctly, but I got there. I used a simple straight stitch, and made sure the edges were all lined up, to help it look nice and tidy.
Then, I attached the side panels to one of the large triangles, kind of like building a pyramid. I pinned everything in place first to make sure it was all aligned. After that, I sewed the other large triangle on top, leaving a gap along one side so I could turn the whole thing inside out.
The base rectangle was next. I folded it in half lengthwise, sewed up the long edge, and then attached it to the bottom of the pillow. Again, lots of pinning involved to keep everything in place!
Stuffing and Finishing
Once everything was sewn together, I turned the pillow right-side out through the gap I’d left. This was a bit like wrestling with a fabric octopus, but I managed! Then came the stuffing. I started by pushing the stuffing into the corners and edges to make sure they were nice and firm. I kept adding more stuffing until the pillow felt plump and supportive.
Finally, I hand-sewed the gap closed using a ladder stitch – it’s an invisible stitch, perfect for this kind of thing. And that was it! My very own Thai pillow.
The Result
I’m pretty happy with how it turned out! It’s not perfect, of course. There are a few wonky seams, and the stuffing is a little lumpy in places. But overall, it looks great, and it’s surprisingly comfortable. I’ve been using it as a backrest while reading in bed, and it’s perfect. I might even make a few more in different colors – I have so much fabric scraps, that this would be perfect to use them up! It was a fun and practical thing to spend my evening on.


