
Okay, so I’ve been wanting to get a golf simulator setup at home for ages. Finally pulled the trigger and decided to go all-in on a Milwaukee-themed setup. Why Milwaukee? Well, I’m a huge Brewers fan, and I love their tools, so it just felt right.
The Planning Phase
First things first, I needed to figure out the space. I cleared out a good chunk of my basement – had to move a bunch of old boxes and stuff to the attic. Measured everything out like five times to make sure I had enough room for the screen, the mat, and my swing. It was tighter than I thought, but I made it work!
Getting the Gear
Next up, the fun part – buying the equipment! I spent weeks, maybe even months, researching projectors, screens, launch monitors, and hitting mats. It was overwhelming! Ended up going with:
- Projector: Some short-throw projector I found on Amazon. Works, its bright, the price not that bad.
- Screen: I got a decent-sized impact screen. Not the fanciest, but it gets the job done.
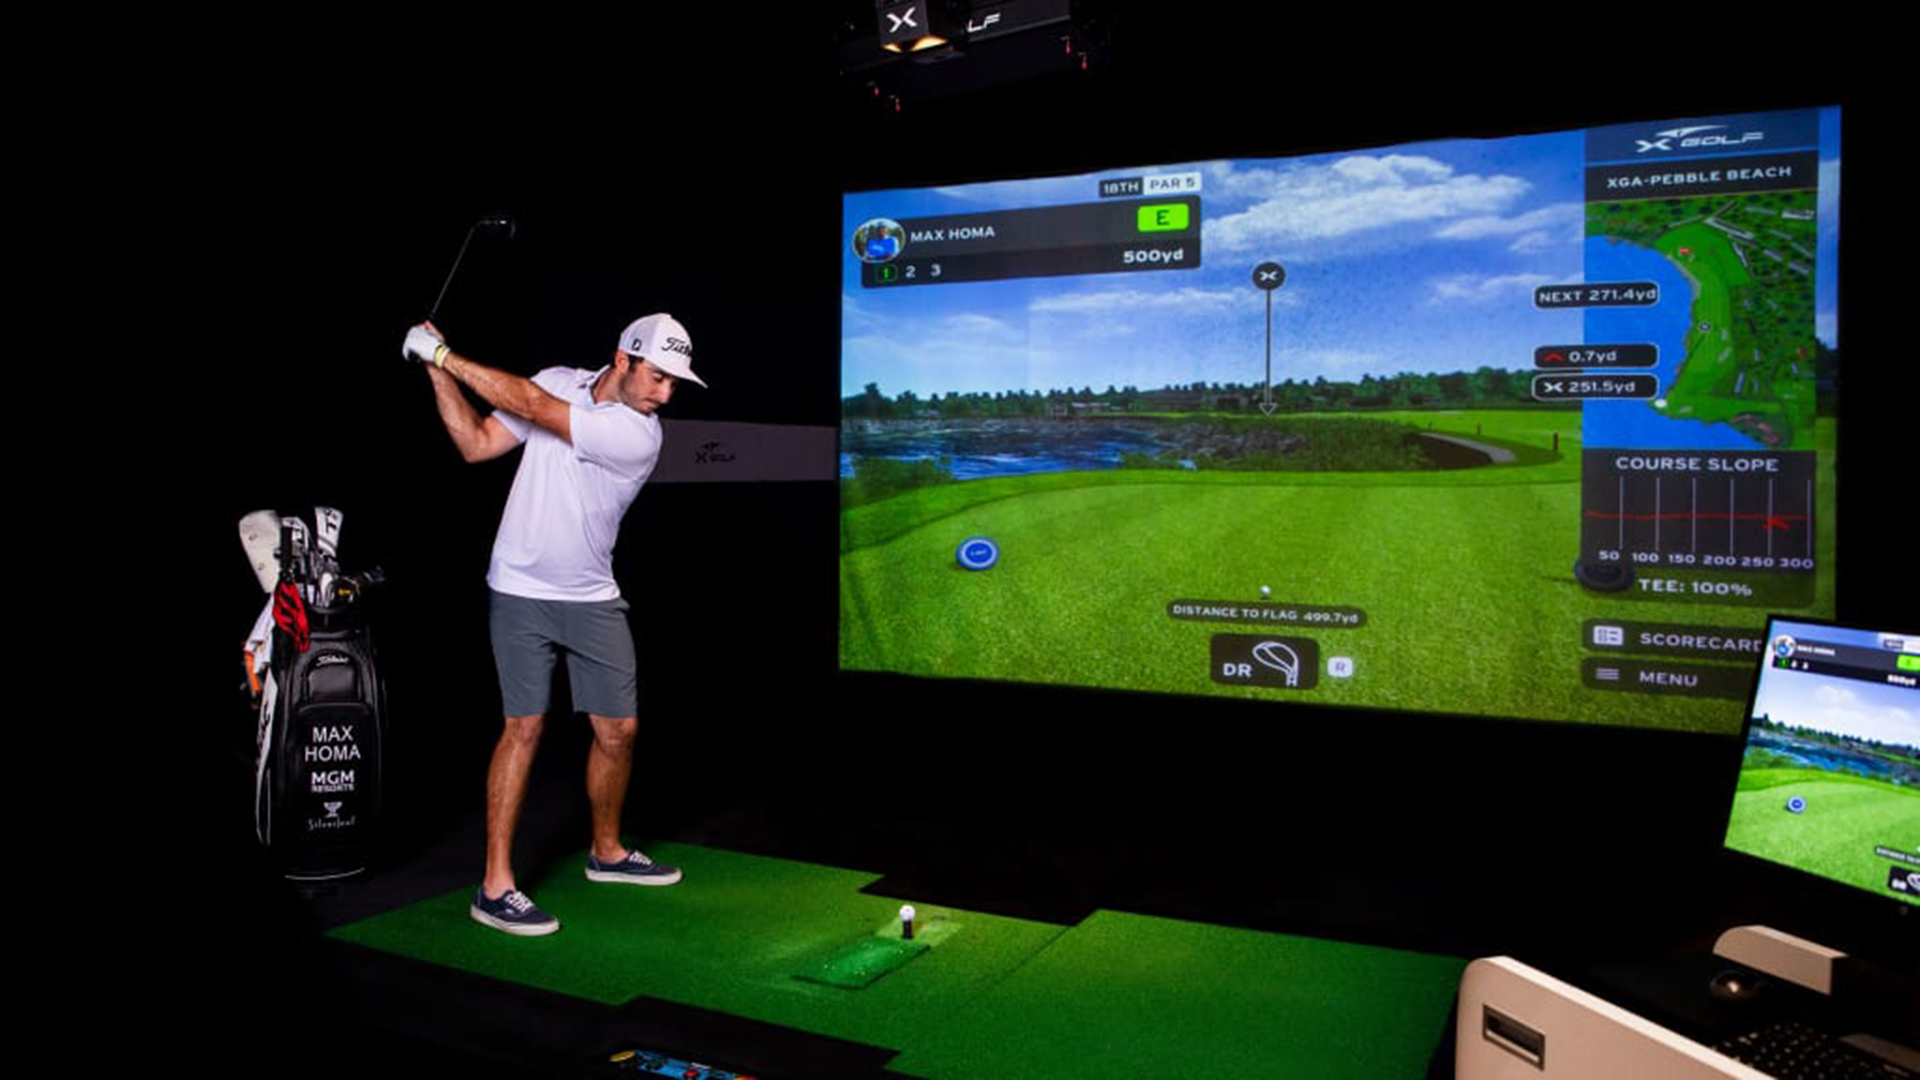
- Launch Monitor: This was the big-ticket item. Researched a few options,then made the choice.
- Hitting Mat: Wanted something that felt realistic and could take a beating,it can simulate different lies, like being in the rough or on a slight slope.
- Software: Chose a software,pretty popular in reviews.
The Setup Hustle
Once everything arrived, it was time to get to work. Let me tell you, setting this thing up was a project in itself. I started by mounting the projector. That involved drilling into the ceiling joists, which was a little nerve-wracking, but I got it done. Then came the screen – had to build a simple frame out of some 2x4s I picked up at the hardware store. Stretching the screen tight was a two-person job, so I roped my buddy into helping.
Next was the launch monitor. I spent an evening messing with, getting it calibrated, and making sure it was reading my shots accurately. That involved a lot of trial and error, hitting a bunch of balls, and adjusting the settings.
The hitting mat was the easiest part – just rolled it out and positioned it in front of the screen.
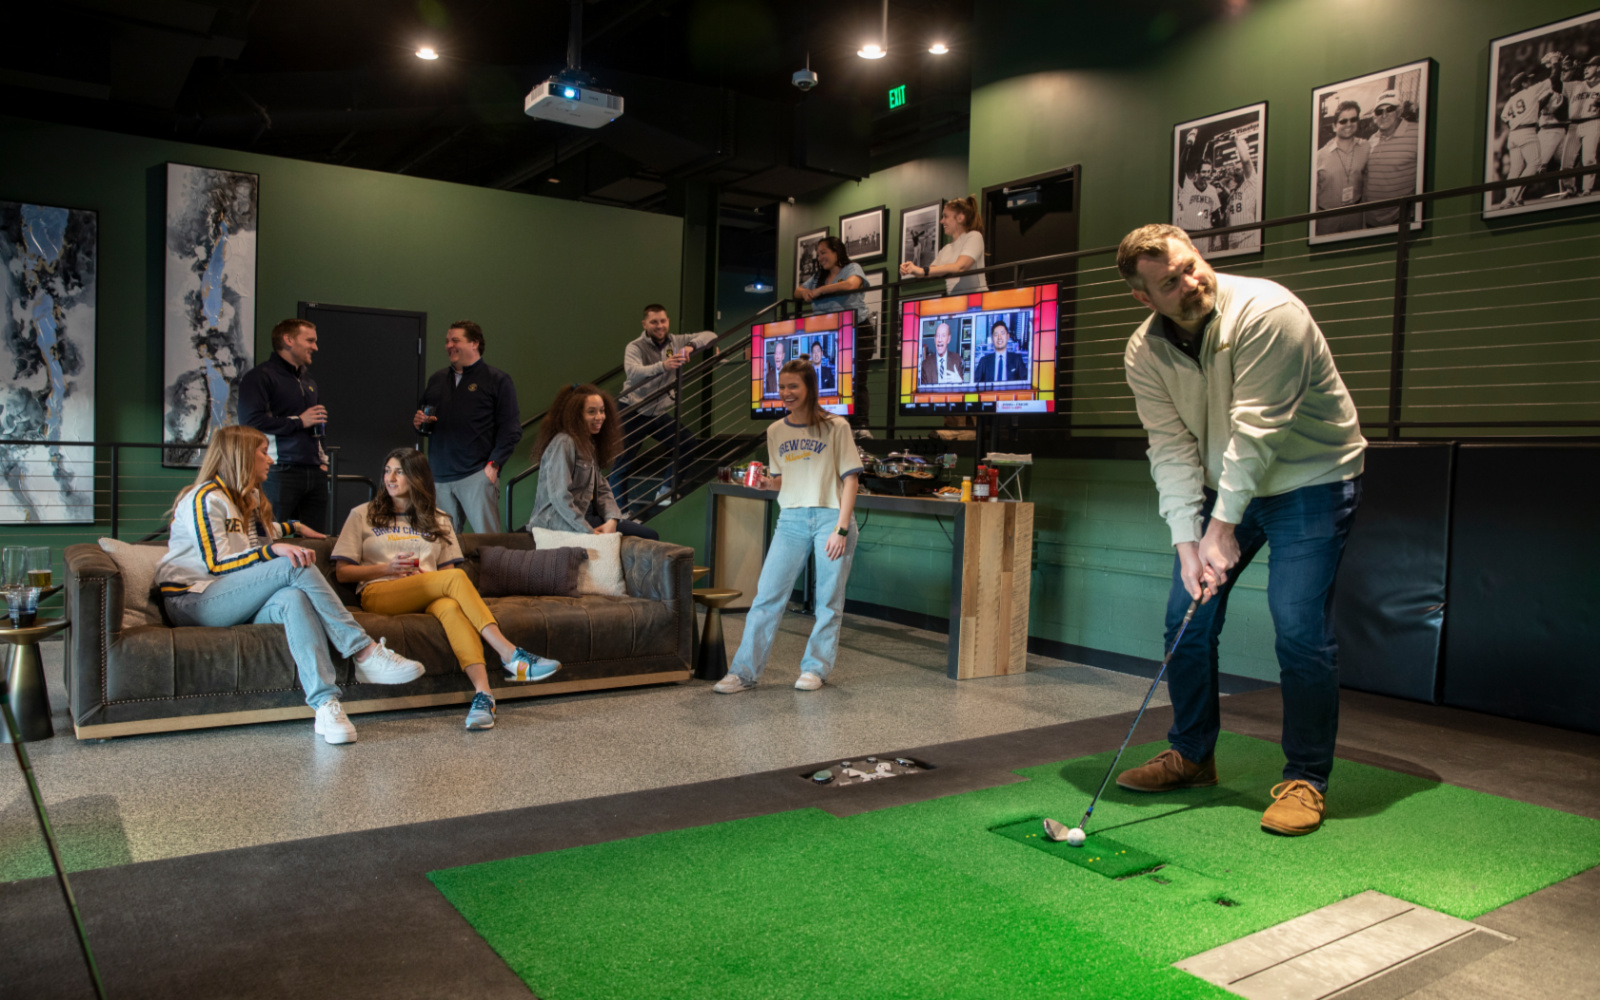
The Milwaukee Touch
Now for the Milwaukee theme! I hung up some old Brewers pennants and posters on the walls. Found a cool Milwaukee Tools neon sign online and put that up too. Even got some red and yellow golf balls to match the brand colors. It’s a little cheesy, but I love it.
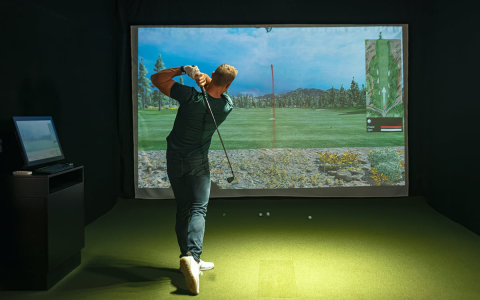
Game Time!
Finally, after all that work, it was time to play! Fired up the software, chose a course, and took my first swing. It was awesome! Seeing the ball fly on the screen and getting all the data on my shot was so cool. I’ve been spending hours down there every week, practicing my swing and playing virtual rounds. It’s not quite the same as being on a real course, but it’s pretty darn close, especially during those cold Wisconsin winters!
All and all,pretty happy about it.


