
Alright, let me tell you about how I made my own Phillies red jersey. It was a whole thing, but I’m pretty stoked with how it turned out.
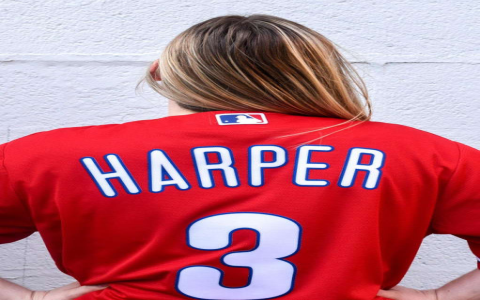
So, first things first, I’m a huge Phillies fan, always have been. I have a bunch of jerseys, but I really wanted a specific one – a red one, obviously – but with a certain player’s name and number that I couldn’t find anywhere. Figured, why not just make it myself?
Phase 1: The Research and the Blank Canvas
- I started by hitting up Google. I needed to find out the exact shade of red the Phillies use (it’s not just any red, ya know?). After some digging, I found the official colors listed somewhere on a fan site. Score!
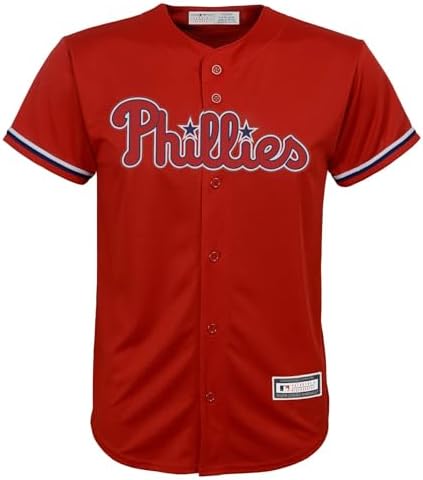
- Next, I needed a blank jersey. Found a decent one online that was a close enough match in color. It was plain, nothing on it, just the red fabric. It was actually a generic baseball jersey, but the fit was good, and the price was right.
Phase 2: Name and Number Game
- This was the trickiest part. I wanted the lettering and numbering to look legit. I looked into getting it professionally done, but the quotes were insane! So, DIY it was.
- I ended up finding a website that sells custom heat-transfer vinyl. You can choose your font, size, and color. I spent a solid hour fiddling with the font to match the Phillies’ style as close as possible. It’s not perfect, but it’s damn close.
- Ordered the name and number in white vinyl. Waited impatiently for it to arrive.
Phase 3: The Heat Press Hustle
- This is where things got real. I borrowed a heat press from a friend (heat presses are expensive!). Never used one before, so I watched a bunch of YouTube tutorials. Safety first, people!
- I carefully positioned the name and number on the back of the jersey. Measured everything like five times to make sure it was centered and straight.
- Followed the instructions for the heat press: temperature, time, pressure. Closed my eyes and hoped for the best.
- Peeling off the transfer paper was the most nerve-wracking part. Slowly, slowly… Success! The vinyl had adhered perfectly. Did the same for the number.
Phase 4: The Fine Details
- The jersey looked good, but it was still missing something. The Phillies logo! I couldn’t find a patch that I liked, so I decided to paint it on.
- I used fabric paint and a stencil I made myself out of cardboard. It took a few tries to get the logo looking decent, but eventually, I was happy with it.
- Let the paint dry completely, then heat-set it with an iron to make it permanent.
The Grand Finale
Ta-da! My custom Phillies red jersey was complete!
It’s not perfect, I’ll admit. If you look closely, you can see some minor imperfections. But hey, I made it myself! And I saved a ton of money. Wore it to a game last week and got a bunch of compliments. Pretty proud of my little project. Next up? Maybe a retro powder blue one… We’ll see!


